|
Customer Setup |
  
|
|
Customer Setup |
|
Getting There
Customer Setup can be accessed from the Main menu. Select => Maintenance | Customer Setup
Description
The Customer Setup dialog box allows you to setup information pertaining to your customers. From this screen information can be added and/or edited for use in setting up orders. Once a customer is setup, it can be used for any number of orders. Statistics and reports can also be obtained for the customer. By using the Customer Mailing Labels utility, you can create labels for customer mailings. A list of all customers entered into the system can be obtained by printing the Customer List.
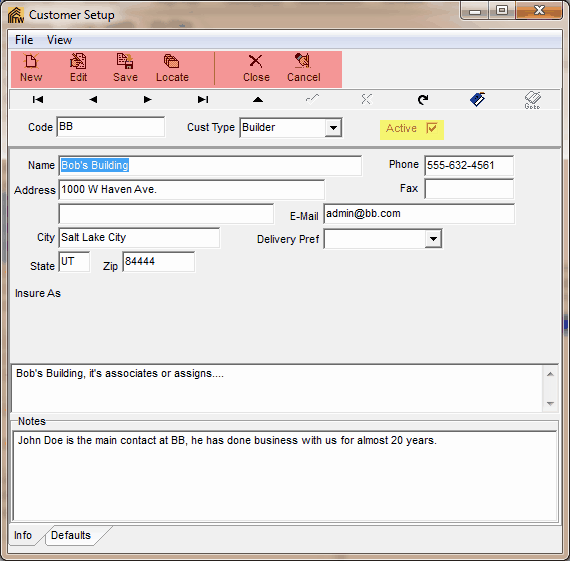
Getting to know the buttons used for Customer Setup (shown in red)
Clicking:
|
Will Result in: |
New
|
The creation of a new customer allowing the user to input all of the desired information to be attached to that customer code. |
Edit
|
Customer Setup allowing the user to edit the information attached to a customer code. |
Save
|
The saving of any changes that have been made to customer information. |
Locate
|
The opening of a search window that allows the user to search the customer database by code or name. |
Close
|
The closing of Customer Setup window. |
Cancel
|
The cancellation of any unsaved changes that have been made |
NOTES:
| • | Customer codes can contain letters and numbers, however, each customer code needs to be unique from all others. If a non-unique code is entered, you will encounter a 7057 error. |
| • | Use the Insure As box to enter the description of how the customer is to be insured as on commitments and policies. This information can then be merged into the proper document when needed. |
| • | The "Active" check box, Shown in yellow, allows you to activate or deactivate a customer. |
To Setup a New Customer
1. Choose Customer Setup from the Maintenance Menu.
2. Select New from the Customer Setup dialog box.
3. Enter a Customer Code to identify the customer.
4. Enter any other necessary information to help identify the customer.
5. Click the Save button to save all changes.
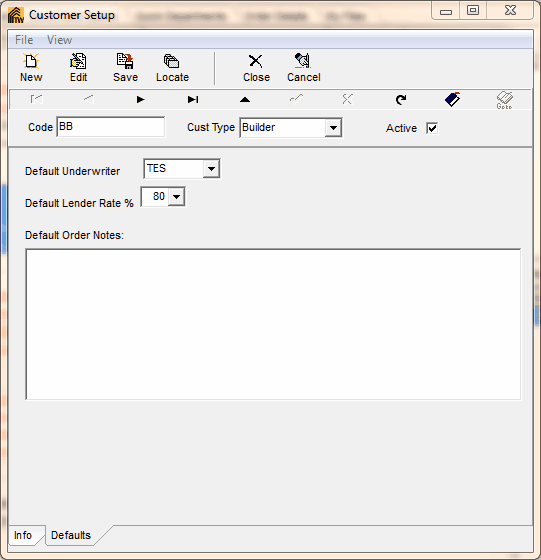
Defaults Tab
By clicking the Defaults tab at the bottom of the Customer Setup screen, you can set a default underwriter, lender rate %, and order notes.
Helpful Hints
Hint 1: When entering information for customers which have more than one location, use codes such as bank1, bank2, bank3, etc. in order to assign unique codes for each.
Hint 2: If you are not sure if a code already exists, try saving the customer information. If the code exists, you will encounter a 7057 error. If you receive this error, enter a new code and try saving again.