|
Positive Pay |
  
|
|
Positive Pay |
|
Turbo Title for Windows will create positive pay files for supported banking institutions. Adding support for your particular bank is part of the monthly maintenance fee and will be done at no extra charge. Check with your bank to see if they support positive pay.
Getting There
The positive pay system is accessed from the Main menu. Select => Accounting, Positive Pay or use the shortcut Ctrl-Alt-A.
Description
Both new checks and new voids will be sent with the positive pay file. New checks are checks that have been printed since the last positive pay file was created, as long as the date on those checks is on or before the selected creation date. New voids (cancels) are checks that have been voided since the last positive pay file creation date. Turbo Title for Windows will create the file, but depending on the individual banking institution you may need to forward the created file manually.
IMPORTANT NOTE
THE FIRST TIME you send a positive pay file, ALL historical checks and voids will be put into the file. Therefore you should run positive pay prior to creating the first actual file to bring the Turbo Title for Windows positive pay system up-to-date.
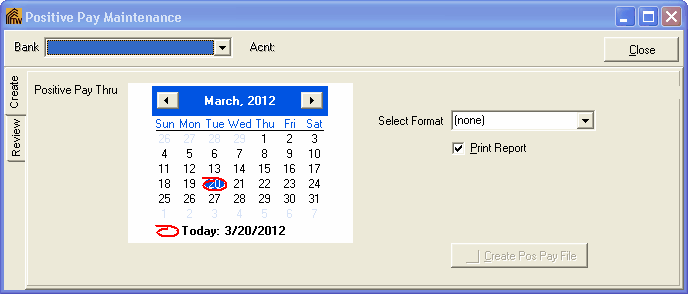
To Create A Positive Pay File
1: Make sure you are on the "Create" tab.
2: Select a bank from the drop down for which you want to create the positive pay file.
3: Next pick the date through which payments and cancellations will be sent.
4: Check the "Print Report" box if you want a printed list of the transactions sent to the positive pay file. Or uncheck to turn this feature off.
5: Click the "Create" button.
You will be prompted to enter the file path and name where the file will be created. Enter the information and click Save. The file will be created and saved at that location. The checks and voids are updated with the date they were sent to positive pay.
To Review Positive Pay Files
When a positive pay file is created, the individual checks and voids are tagged with the date they were sent to a positive pay file. You may view this information from the "Review" tab on the positive pay screen. Enter or select the date you want to review and click the "View Date" button.
